
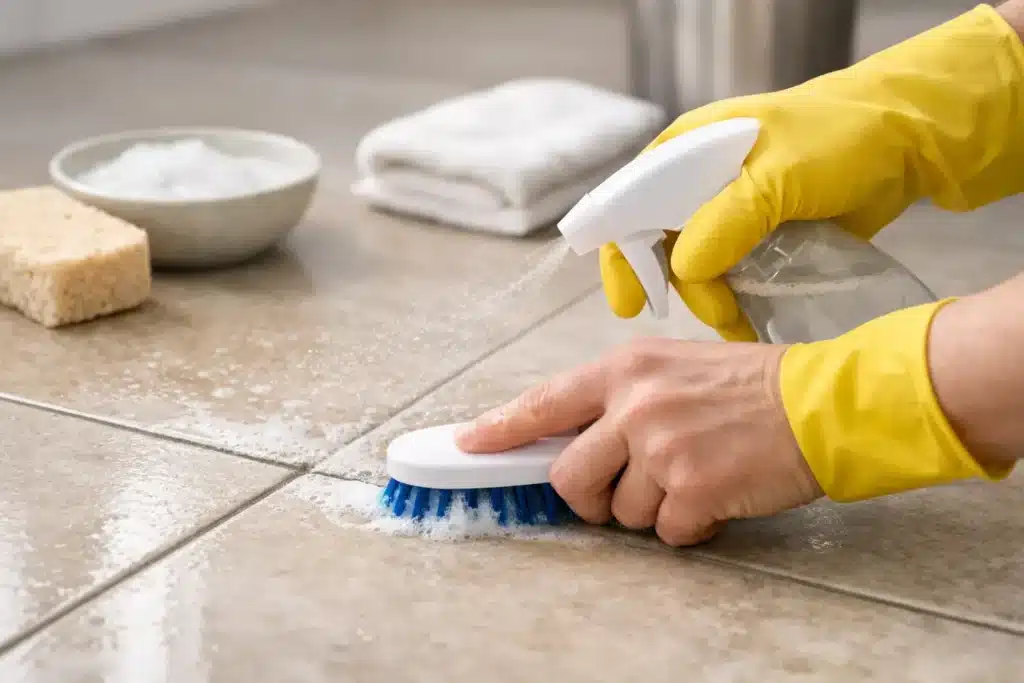
Grout rarely looks dirty overnight. It gradually changes from light and clean to dull, grey or patchy as it collects soap residue, cooking grease, moisture and everyday foot traffic. Knowing how to clean tile grout properly can make an entire bathroom, kitchen or tiled living area look fresher without replacing a single tile.
The key is to match the method to the mess. A light surface clean needs far less effort than mould-stained shower grout or deeply embedded grime in a busy entryway. Start gently, use the right tools, and avoid harsh shortcuts that can damage grout, sealant or the finish of your tiles.
Why tile grout gets dirty so quickly
Tiles have a glazed, non-porous surface that is relatively easy to wipe down. Grout is different. Its textured, porous surface holds onto fine dirt, oils and cleaning-product residue. In wet areas, it can also stay damp long enough for mould and mildew to develop.
Bathroom grout is usually affected by soap scum, shampoo residue and poor ventilation. Kitchen splashbacks and floors collect grease, food splatters and dust. At entrances and in high-traffic rooms, grout absorbs soil brought in on shoes, pet paws and bare feet.
This is why mopping alone often does not restore grout. In fact, a dirty mop can push grimy water into grout lines and make them appear darker over time.
How to clean tile grout safely at home
For regular grime, begin with a simple cleaning mix before reaching for a strong chemical product. You will need warm water, a pH-neutral tile and grout cleaner or a mild dishwashing liquid, a small grout brush or old soft toothbrush, clean microfibre cloths and a bucket of fresh water.
Vacuum or sweep the tiled area first. Loose sand and grit can scratch tile surfaces when you start scrubbing. Then apply your chosen cleaner directly to a small section of grout and leave it for a few minutes. This dwell time matters because it gives the product time to loosen soil rather than forcing you to scrub aggressively.
Work the brush along the grout lines using short, controlled strokes. Avoid hard wire brushes or abrasive scouring pads. They may seem effective at first, but they can wear away the grout surface, leave tiles scratched and create a rougher area that traps more dirt later.
Wipe away the lifted grime with a damp microfibre cloth, then rinse the section with clean water. Change your water when it turns cloudy. Finishing with a dry cloth is especially worthwhile in bathrooms, where leaving moisture behind can encourage mould to return.
A baking soda paste for stubborn marks
A baking soda and water paste can help with stubborn, localised marks on standard ceramic or porcelain tile grout. Mix enough water into baking soda to form a spreadable paste, apply it to the grout lines and leave it for around 10 to 15 minutes. Gently agitate with a soft grout brush, then rinse thoroughly.
This method is useful for a small patch that needs extra attention, but it is not a complete answer for heavily soiled floors or widespread mould. It also requires patience. Scrubbing every grout line in a large room by hand can quickly become a time-consuming job, with uneven results if the dirt has penetrated below the surface.
Treating mould in shower grout
Black or dark spotting in shower grout is often mould or mildew, particularly around the lower wall tiles, corners and silicone joints. Use a cleaner designed for bathroom mould and follow its label directions carefully. Ventilate the room, wear gloves and keep the product away from towels, bath mats and unprotected surfaces.
Never mix cleaning products. Combining bleach with acids, ammonia or other cleaners can release dangerous fumes. Bleach-based products may lighten surface staining, but they are not suitable for every tile, grout or natural stone installation. Always test a discreet area first and rinse well after treatment.
If mould returns quickly, the cleaning method may not be the only issue. Check for a leaking shower screen, damaged silicone, blocked ventilation or grout that stays wet for too long. Cleaning can improve the appearance, but the source of ongoing moisture needs attention as well.
What not to use on tile and grout
The wrong cleaner can turn a cosmetic problem into an expensive repair. This is particularly true for natural stone tiles such as marble, travertine, limestone and terrazzo, which can be etched or dulled by acidic products.
Avoid these common mistakes:
- Strong acidic cleaners, vinegar or lemon juice on natural stone or unknown tile surfaces.
- Steel wool, harsh scourers and wire brushes that scratch tile and erode grout.
- Mixing bleach with any other cleaning chemical.
- Flooding floors with water, especially near timber cabinetry, skirting boards or doorways.
Vinegar is often promoted as an all-purpose household cleaner, but it is not a one-size-fits-all grout solution. It can be unsuitable for stone and may weaken some grout over repeated use. When in doubt, choose a pH-neutral tile and grout cleaner or ask a professional to assess the surface first.
When DIY grout cleaning is not enough
There is a clear difference between surface dirt and deep contamination. If grout still looks dark after careful cleaning, has uneven colour across the room or feels rough and worn, the staining may be embedded in its pores. Heavy grease in kitchens, mineral build-up in bathrooms and years of tracked-in dirt on floors often need professional equipment to shift properly.
Professional tile and grout cleaning uses specialised solutions and high-pressure extraction to lift grime from deep in the grout lines while recovering the dirty water. This delivers a more even result than hand scrubbing and avoids leaving a residue that attracts fresh soil.
It is also the practical choice before a rental inspection, property sale, vacate clean or commercial handover. Clean grout changes the presentation of a room immediately. It makes bathrooms appear better maintained, kitchens look more hygienic and tiled floors feel properly clean rather than simply mopped.
GM Carpet Cleaning provides professional tile and grout cleaning across Mandurah and surrounding areas, using industry-grade equipment to tackle tired, heavily soiled surfaces. For homeowners, renters and business operators, it is a straightforward way to get a genuinely professional clean without spending a weekend on hands and knees.
Keep grout cleaner for longer
Once the grout is restored, small habits make a noticeable difference. In the shower, use an exhaust fan during and after bathing, and wipe down wet tiles when practical. On tiled floors, vacuum or sweep before mopping so loose grit does not get pushed into the grout.
Use a clean mop head and fresh water rather than repeatedly spreading dirty water across the floor. For busy homes with children or pets, focus on entryways, kitchens and dining areas more often than low-traffic rooms. Spot-clean spills promptly, particularly oils, sauces and coloured drinks that can stain porous grout.
Grout sealing can provide extra protection after a deep clean, but it depends on the grout type, tile material and condition of the surface. A sealant is not a substitute for cleaning, and it will not repair cracked or missing grout. Where grout is damaged, loose or repeatedly mouldy, repair work may be needed before sealing makes sense.
A brighter grout line is one of those details that changes the whole room. Start with the gentlest effective method, protect the surfaces around it, and bring in professional help when stubborn grime is beyond a simple scrub.